
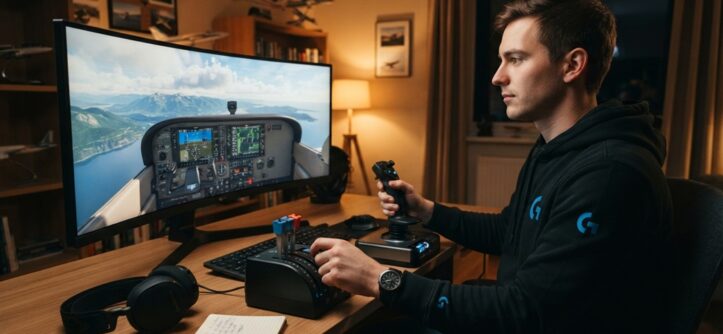
You don’t need years of experience to fly well in a flight simulator. You just need the right controls, set up the right way, and a clear practice plan. This guide breaks down exactly how to get there, step by step.
Most beginners quit early because their controls feel clunky or confusing. That’s not a skill problem. It’s a setup problem. Once your hardware and settings match how you actually fly, everything clicks faster than you’d expect.
Below, you’ll find a full walkthrough: choosing gear, binding keys, adjusting sensitivity, and building muscle memory through smart practice.
Choosing the Right Flight Sim Controller for Beginners
Your first controller doesn’t need to be expensive. It just needs the right axes for the job.
Joystick vs. HOTAS vs. Gamepad
A basic joystick works fine for casual flying. It gives you pitch and roll on one stick, which is enough to learn the fundamentals.
A HOTAS setup (Hands On Throttle And Stick) adds a separate throttle control. This matters once you start managing engine power, especially in combat or airliner sims. Many beginners jump straight to HOTAS because it mirrors real cockpits and reduces the learning curve later.
A gamepad can work too, especially for arcade-style sims like Ace Combat or early Microsoft Flight Simulator sessions. It’s not ideal for realism, but it lowers the entry cost.
What to Look for When Buying
Pick a controller with at least one twist-axis for rudder control. Without it, you’ll need extra pedals or keyboard binds for yaw, which slows down learning.
Also check for programmable buttons. Even four or five extra buttons let you assign landing gear, flaps, and view controls without leaving the stick.
Setting Up Your Controls the Right Way
Good binding habits from day one save you hours of frustration later.
Start With Default Presets, Then Adjust
Most sims ship with sensible default bindings for popular controllers. Load the preset that matches your hardware first. Then tweak only what feels wrong, instead of rebuilding everything from scratch.
Group Controls by Function
Keep flight controls (pitch, roll, yaw, throttle) on your primary device. Move secondary systems, like radios or autopilot toggles, to keyboard shortcuts or extra buttons. This separation keeps your hands focused on flying, not searching for keys.
Save Your Profile
Once your bindings feel comfortable, save that profile immediately. Many sims let you name and store multiple profiles, which helps if you fly different aircraft types with different control needs.
Adjusting Sensitivity and Deadzones for Smoother Flight
Raw, unadjusted sensitivity is the number one reason beginner flights feel jittery or overcorrected.
Why Deadzones Matter
A deadzone is the small area around your stick’s center where input is ignored. Without one, tiny hand tremors get registered as real inputs, causing constant micro-corrections. Set your deadzone between 5% and 10% as a starting point.
Curve Settings Make Fine Control Easier
Most sims offer a sensitivity curve option, sometimes called a response curve. A steeper curve near the center gives you finer control for small adjustments, while still allowing full deflection for sharp maneuvers. Beginners often benefit from a curve setting between 20 and 40 on a 0-100 scale.
Test in a Calm Environment First
Before flying anything complex, take off in clear weather with no traffic. This lets you feel how your inputs translate to movement, without other variables adding pressure.
Mastering Essential Flight Controls
Learning complex flight controls becomes far less overwhelming when you break them down systematically, mastering one core control group before moving to the next. Building this foundational muscle memory not only sharpens your piloting accuracy, but also conditions your strategic thinking for high-stakes digital environments. In fact, training your mind to process real-time inputs and balance competing variables transitions seamlessly into other complex subgenres if you enjoy managing intricate, multi-layered systems, explore our strategic guide on manage complex city sims without going bankrupt to elevate your broader simulation gameplay.
Master Pitch and Roll First
Pitch (nose up/down) and roll (banking left/right) are your foundation. Practice gentle, level turns until they feel automatic before adding other inputs.
Add Throttle Management Next
Once basic movement feels natural, bring throttle into the mix. Practice smooth power changes during climbs and descents. Sudden throttle jumps are a common beginner mistake that leads to stalls or overshoots.
Introduce Rudder and Yaw Control
Rudder control often confuses new pilots because its effect is subtle at low speed and stronger at high speed. Practice using rudder during takeoff roll and crosswind landings, where its role becomes obvious.
Bring In Flaps and Landing Gear
These systems are simple to bind but easy to forget under pressure. Assign them to dedicated buttons early, and practice full landing sequences that include gear and flap deployment.
Practice Drills That Build Real Muscle Memory
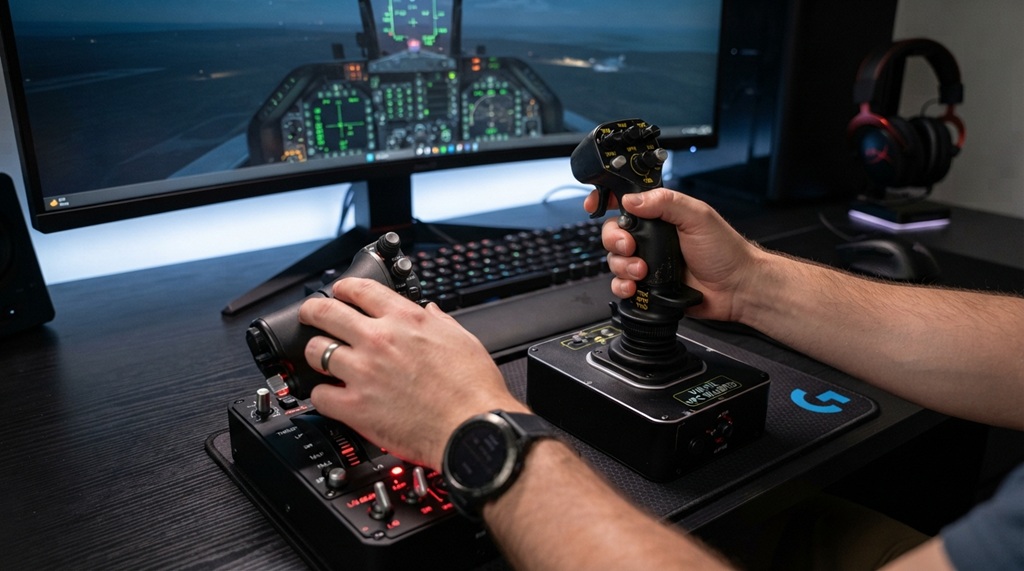
Skill comes from repetition, not from reading guides. According to industry experts, targeted repetition builds control familiarity faster than long, unfocused flying sessions.
The Circuit Pattern Drill
Fly a repeated takeoff-and-landing loop, called a circuit. Each lap reinforces takeoff control, turns, approach, and landing in one continuous cycle.
The Slow Flight Drill
Reduce your speed close to stall range and hold altitude. This drill sharpens your feel for pitch and throttle balance far more than casual cruising ever will.
The Crosswind Landing Drill
Set wind conditions with a crosswind component, then repeat landings until they feel controlled. This single drill does more for rudder skill than almost anything else.
Common Beginner Mistakes and How to Fix Them
Most control problems trace back to a handful of repeated habits.
Overcorrecting Every Small Movement
New pilots often react to every wobble with a big input. Instead, make small adjustments and wait a moment to see the result before adjusting again.
Ignoring Trim Controls
Trim lets you hold a pitch attitude without constant stick pressure. Skipping trim makes long flights physically tiring and harder to control precisely.
Rebinding Too Many Keys Too Soon
Changing bindings constantly prevents muscle memory from forming. Pick a layout, commit to it for at least a week, then adjust only what still feels wrong.
Frequently Asked Questions
What’s the best beginner controller for flight simulators?
A simple joystick with a twist-axis rudder is the easiest starting point. It covers the core controls without overwhelming you with extra hardware to learn at once.
Do I need a HOTAS setup to fly well?
No. A HOTAS setup helps once you fly more complex aircraft, but many beginners learn the fundamentals fine on a basic joystick or gamepad first.
How long does it take to feel comfortable with flight sim controls?
Most beginners feel noticeably more confident after five to ten focused practice sessions. Consistent short sessions work better than occasional long ones.
Should I use a keyboard instead of a joystick?
A keyboard can work for casual flying, but it makes smooth, proportional control much harder. A joystick gives you finer control over pitch, roll, and throttle.
Why do my controls feel jittery even after adjusting sensitivity?
This usually means your deadzone is set too low, or your controller has natural drift. Increase the deadzone slightly and check for hardware calibration issues in your sim’s settings menu.
Conclusion
Mastering flight sim controls comes down to three things: the right gear, a clean setup, and focused practice. Start simple, adjust sensitivity carefully, and build skills one control group at a time. With consistent practice drills, comfortable, confident flying is closer than most beginners think.