

To test game performance, you track FPS, frame time, and stability across repeatable runs then compare those numbers before and after a change. This tells you if an upgrade actually helps or just looks good on paper. Anyone can install a benchmark tool. Fewer people know how to read the results correctly.
This guide breaks down the exact metrics that matter, the tools worth using, and how to run a fair test. You’ll also learn how to spot a “real” upgrade from a fake one something many gamers get wrong.
What “Testing Game Performance” Actually Means
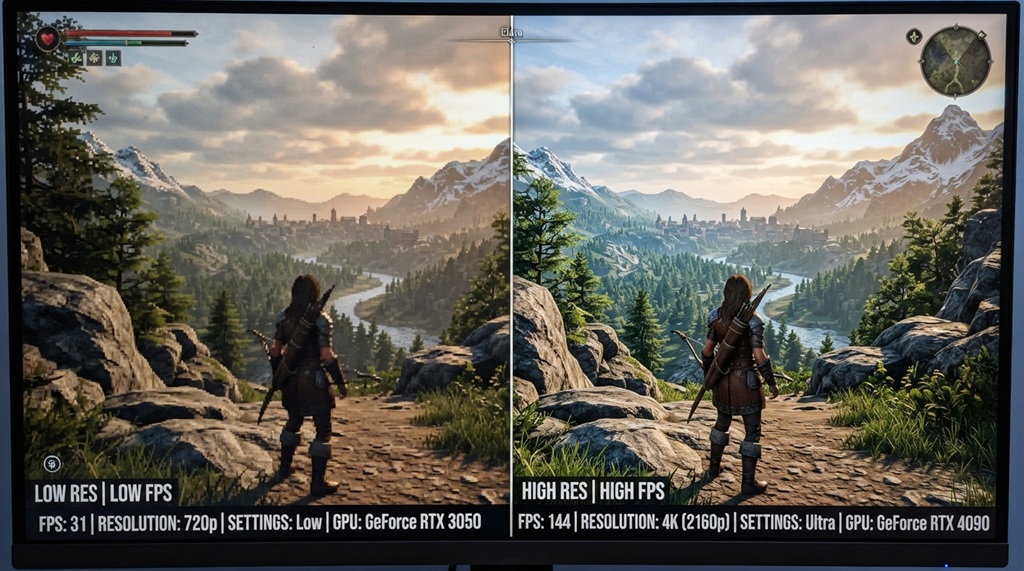
Testing game performance means measuring how smoothly a game runs under controlled, repeatable conditions. It’s not just checking your FPS counter once and calling it done. Real testing involves multiple runs, consistent settings, and clear before-and-after comparisons.
Most players only look at average FPS. That number hides a lot. A game can average 90 FPS and still feel choppy if it dips hard during busy scenes. Good testing looks at the full picture: highs, lows, and how consistent the frame rate stays over time.
This matters most when you’re deciding whether an upgrade a new GPU, more RAM, a driver update was worth it. Without proper testing, you’re just guessing.
The Key Metrics You Should Track
Relying on a single average FPS metric rarely reveals the true stability of your gameplay, making it essential to monitor four core metrics Average FPS, 1% Lows, Frame Time consistency, and GPU/CPU utilization to accurately diagnose stutter and verify actual performance gains. Evaluating these real-time telemetry points gives you a complete, data-driven picture of hardware bottlenecks, ensuring every visual adjustment delivers smoother frame delivery rather than superficial speed spikes. To put these diagnostic methods into practice on popular sports titles, NBA 2K26 best graphics settings for US gamers: Best performance for RTX and AMD GPUs to optimize your frame rates and visual quality.
Average FPS
Average FPS shows your overall frame rate across a test run. It’s the most common metric, but it’s also the easiest to misread. Two systems can share the same average FPS while one feels far smoother than the other.
1% and 0.1% Lows
These numbers show your worst moments, not your best ones. The 1% low is the average of the slowest 1% of frames in your test. It reveals stutters and dips that the average FPS number hides completely. A high average with poor 1% lows usually means a game that looks fine on paper but feels rough to play.
Frame Time Consistency
Frame time measures how long each frame takes to render, in milliseconds. Consistent frame times feel smooth, even at a lower FPS. Wildly varying frame times cause stutter, even when the average FPS looks strong. This is one of the most overlooked metrics in casual testing.
CPU and GPU Usage
Usage percentages tell you where your bottleneck sits. If your GPU sits at 60% while your CPU hits 100%, your processor is holding your system back, not your graphics card. Knowing this saves you from buying the wrong upgrade.
Tools You Can Use to Benchmark Your System
You don’t need expensive software to test game performance properly. Several free and reliable tools cover everything most gamers need.
- MSI Afterburner + RTSS: Tracks FPS, frame time, and hardware usage in real time, with an on-screen overlay.
- CapFrameX: Built specifically for frame time analysis and generates clean, readable graphs.
- Built-in game benchmarks: Many modern titles include their own benchmark mode, which is great for consistent, repeatable comparisons.
- PresentMon: A command-line tool that captures detailed frame data, useful for advanced users who want raw numbers.
- HWInfo: Monitors temperatures, clock speeds, and power draw alongside performance, which helps explain why a dip happened.
Start with MSI Afterburner if you’re new to this. It covers the basics without a steep learning curve, and most guides online are built around it.
How to Run a Fair Benchmark Test
A fair test isolates one variable at a time so you know exactly what caused a change. Skip this step, and your results won’t mean much.
Step 1: Pick a Repeatable Test Scene
Choose a spot in-game you can return to exactly a built-in benchmark, a specific level section, or a scripted sequence. Random gameplay introduces too many variables, since no two matches ever play out the same way.
Step 2: Lock Your Settings
Keep resolution, graphics preset, and any upscaling options identical between test runs. Even one changed setting can throw off your comparison and make an upgrade look better or worse than it really is.
Step 3: Run Multiple Passes
Run each test at least three times and average the results. A single run can be skewed by background processes, thermal throttling, or random in-game events. Three runs give you a far more reliable picture.
Step 4: Control the Environment
Close background apps, pause updates, and let your system idle for a minute before testing. A stray Windows update or Discord notification can quietly tank your numbers mid-test.
Step 5: Record Everything
Log your average FPS, 1% lows, and frame time graph for every run. Screenshots or exported CSV files work well here. You’ll want this data later when you compare against your next test.
How to Tell If an Upgrade Is Real (Not Just a Number on a Box)
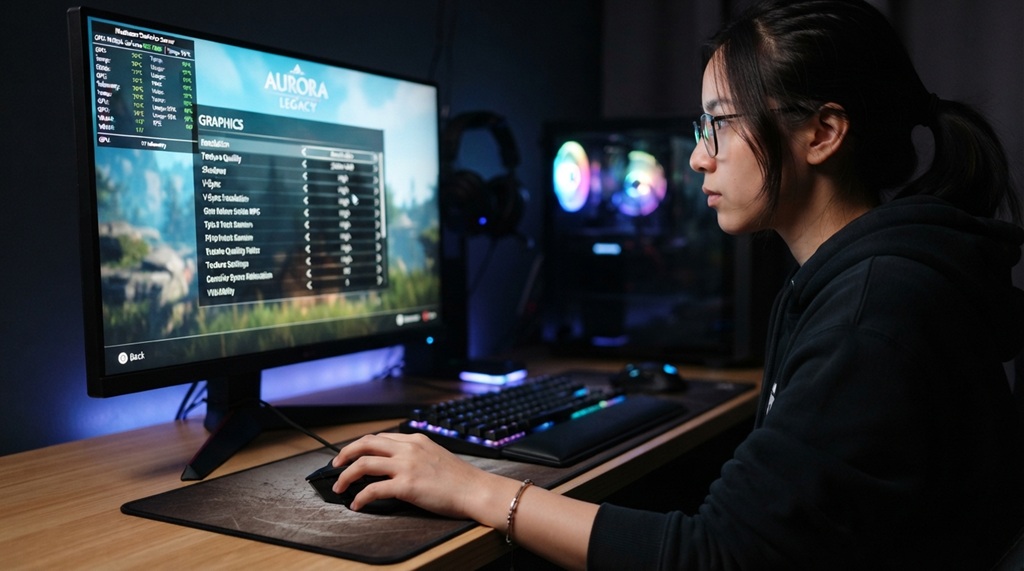
A real upgrade shows a measurable, repeatable improvement in your actual gameplay tests not just a higher spec sheet number. This is where a lot of gamers get misled by marketing.
Here’s a genuinely useful check most guides skip: test the upgrade in a CPU-bound scenario, not just a GPU-bound one. Many “upgrades” only show gains in demanding, GPU-heavy scenes. But if your everyday gameplay is CPU-bound think strategy games, simulation titles, or crowded open-world areas a new GPU might barely move the needle. Always test both scenarios before deciding an upgrade delivered real value.
Watch for these signs of a genuine improvement:
- Higher 1% lows, not just a higher average FPS
- Smoother frame time graphs, with fewer spikes
- Lower CPU or GPU usage at the same settings, meaning more headroom
- Consistent results across three or more test runs, not a one-time fluke
If your average FPS jumps but your 1% lows stay flat, the upgrade likely isn’t solving your real problem. Marketing benchmarks often cherry-pick best-case scenarios. Your own repeatable tests won’t lie to you the same way.
Common Mistakes That Skew Your Results
Small errors during testing can make a good upgrade look bad, or a bad one look great. Avoid these to keep your data trustworthy.
- Testing right after a fresh install. Drivers and shader caches need time to settle; test after a normal play session instead.
- Ignoring temperature and thermal throttling. A hot CPU or GPU can quietly tank performance mid-test, hiding an upgrade’s true potential.
- Comparing different game areas. Testing an open field before and a dense city after gives you meaningless numbers.
- Skipping a baseline test. Always benchmark your system before the change, not just after. Without a baseline, you’re comparing to memory, not data.
- Using only one run. A single test can catch a lucky or unlucky moment. Always average multiple runs.
Frequently Asked Questions
What’s a good FPS for competitive gaming?
Most competitive players aim for 144 FPS or higher on a matching high-refresh monitor. What matters more than the raw number is consistency stable 1% lows matter more than a high average that dips during firefights.
Do I need expensive software to benchmark my PC?
No. Free tools like MSI Afterburner, RTSS, and CapFrameX cover everything most gamers need. Paid tools mainly add convenience and deeper analytics, not fundamentally different data.
How many times should I run a benchmark test?
Run each test at least three times and average the results. This helps filter out random spikes caused by background processes or one-off in-game events.
Can a driver update improve game performance without new hardware?
Yes, driver updates can genuinely improve performance, especially for newly released games. Always benchmark before and after a driver update to confirm the gain is real and not just placebo.
Why does my FPS look fine but the game still feels laggy?
This usually means your 1% lows or frame time consistency are poor, even though your average FPS looks healthy. Check frame time graphs, not just the FPS counter, to find the real issue.
Conclusion
Testing game performance the right way comes down to tracking the right metrics, using a repeatable process, and reading your results honestly. Average FPS alone won’t tell you the full story 1% lows and frame time consistency matter just as much, if not more.
Before you trust any upgrade, real or advertised, run your own controlled tests. Your numbers, gathered your way, will always tell you more than a marketing benchmark ever could.